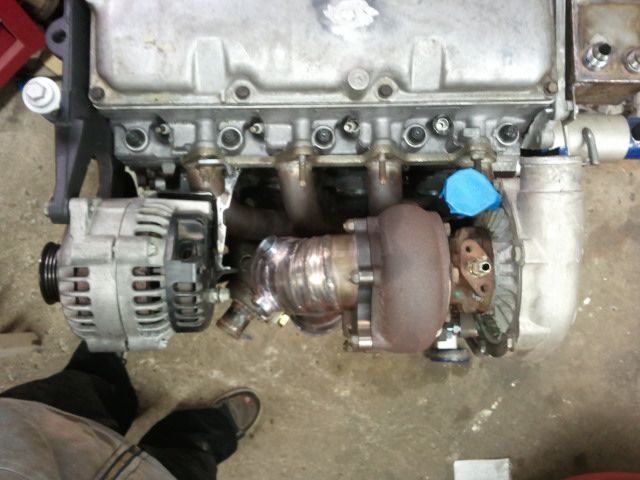
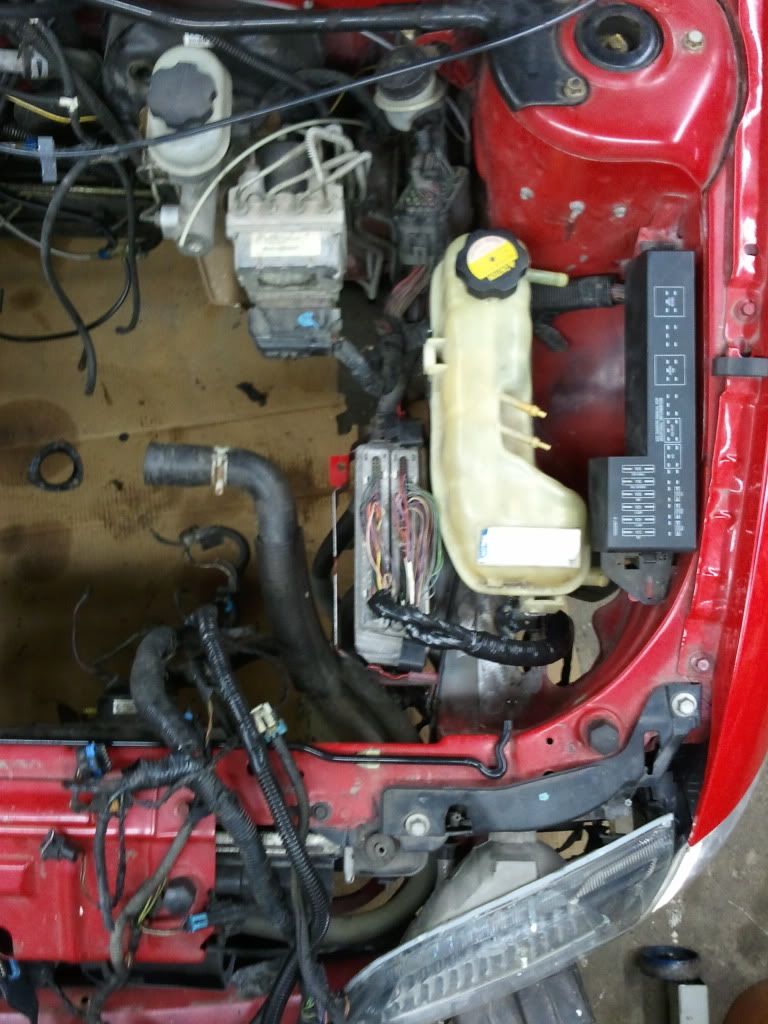
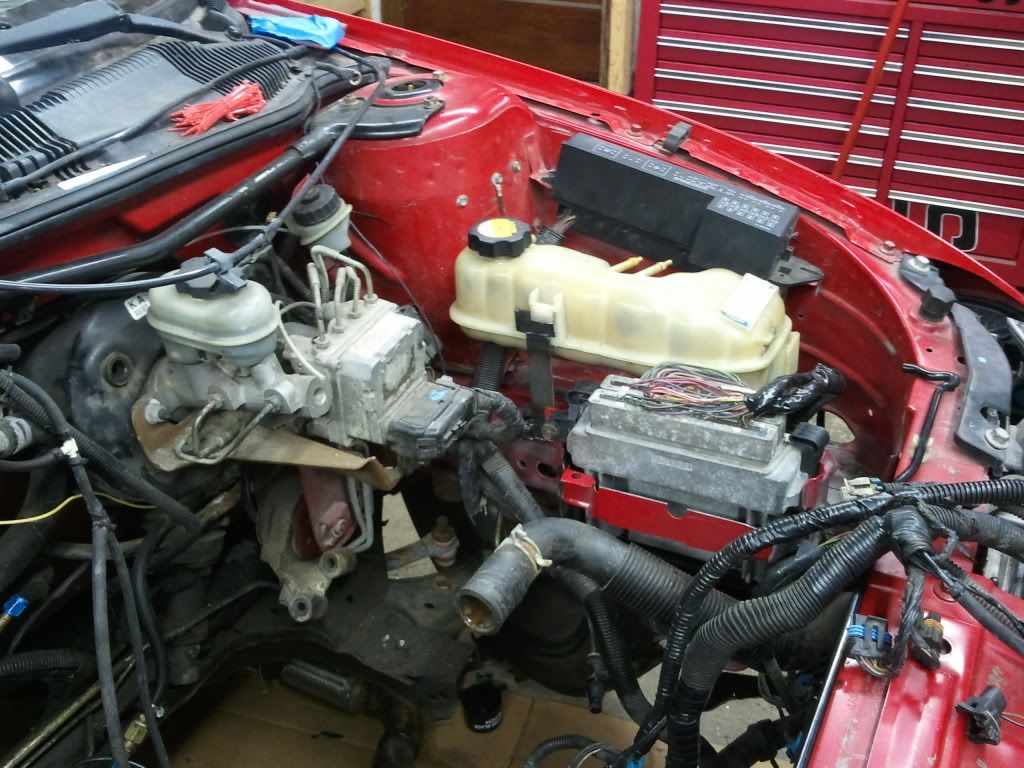
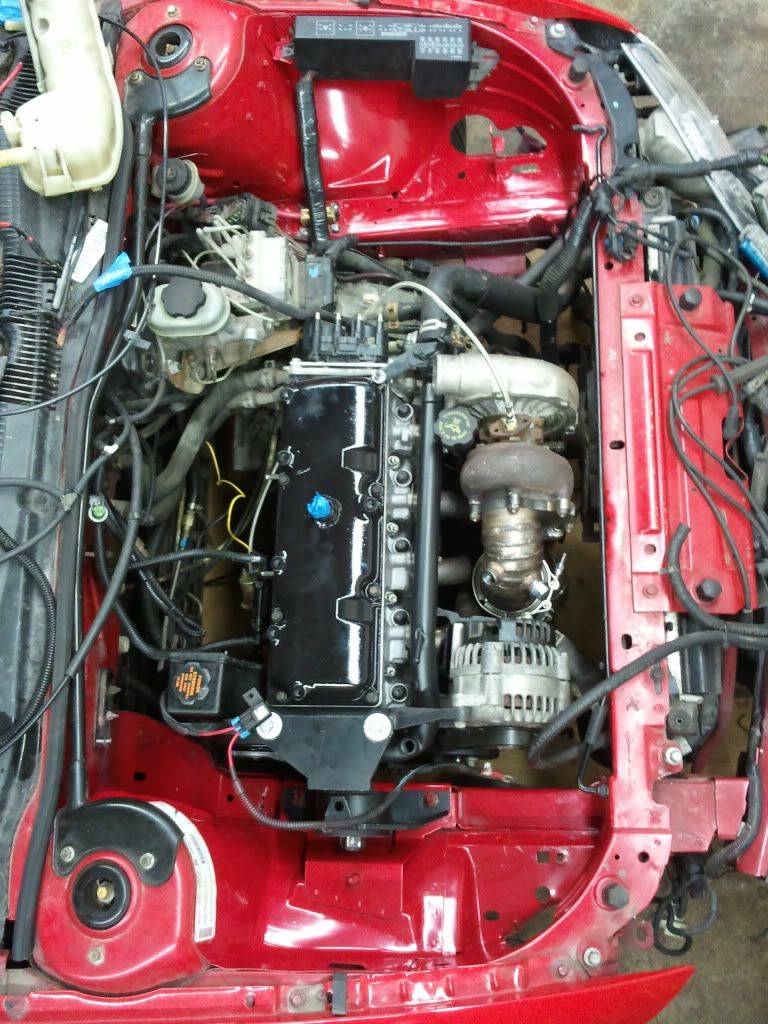
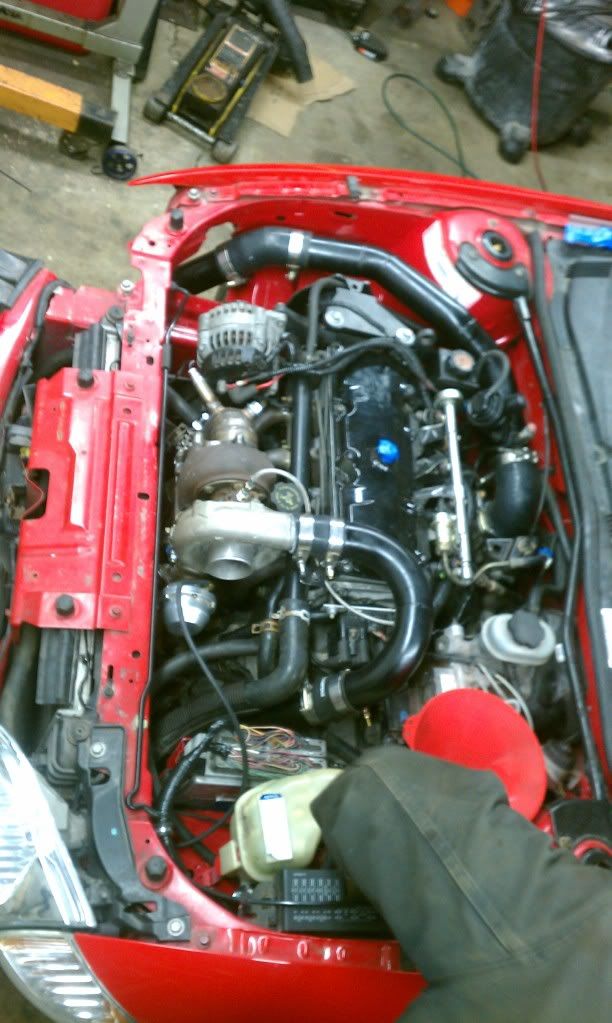
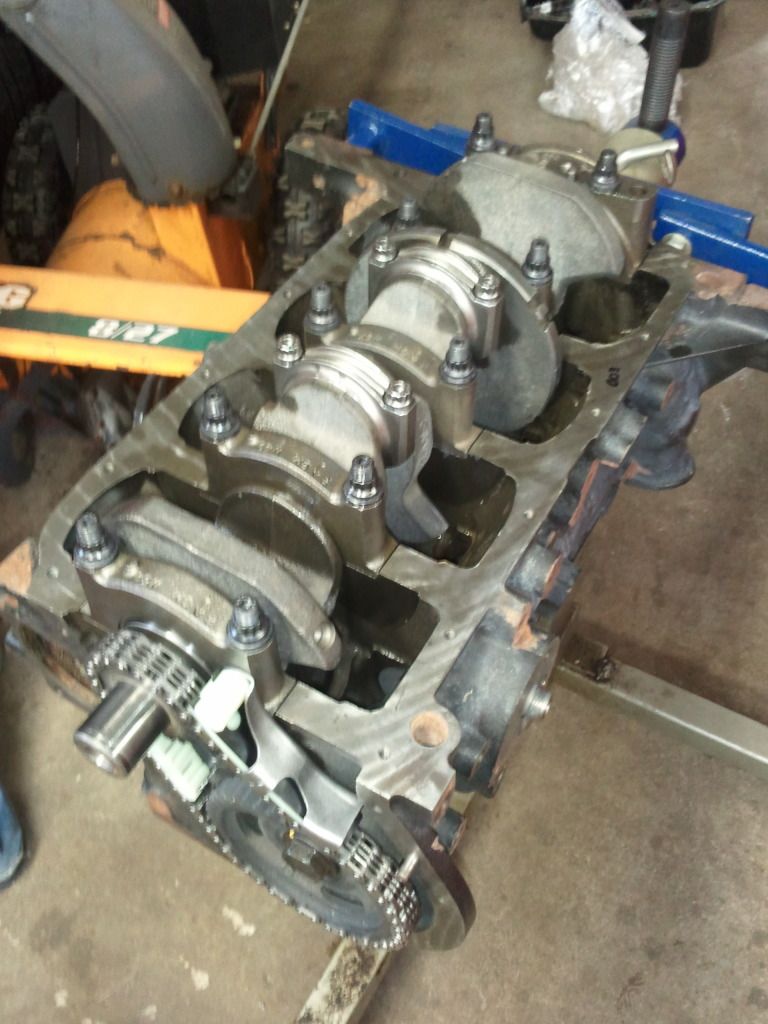
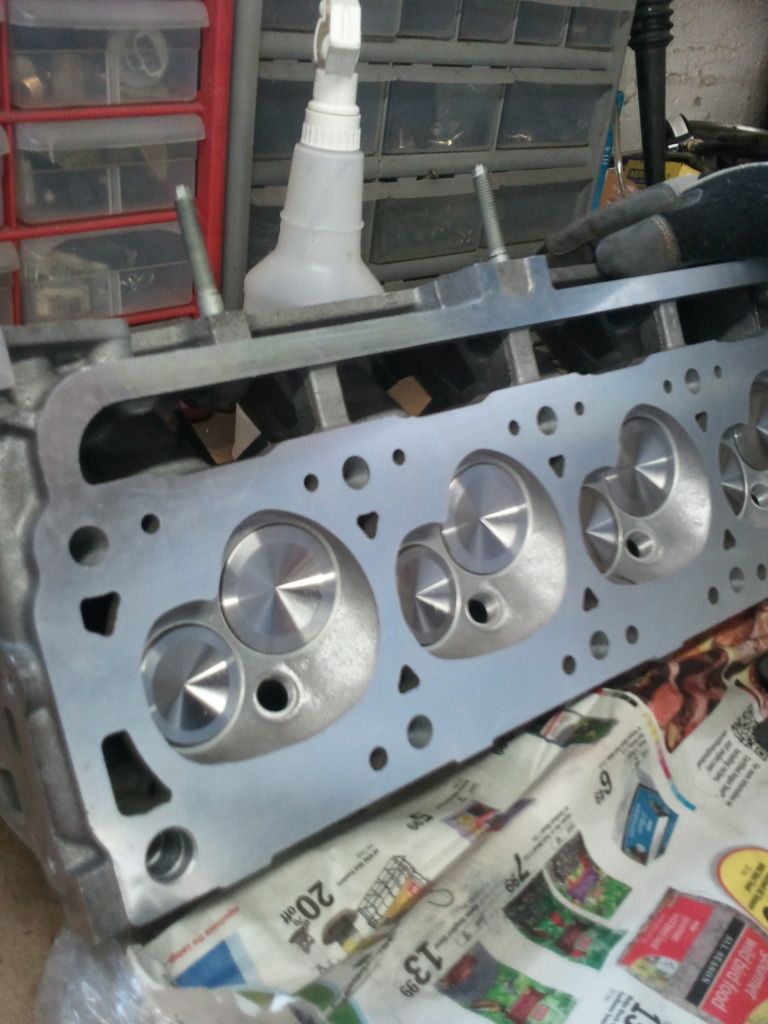
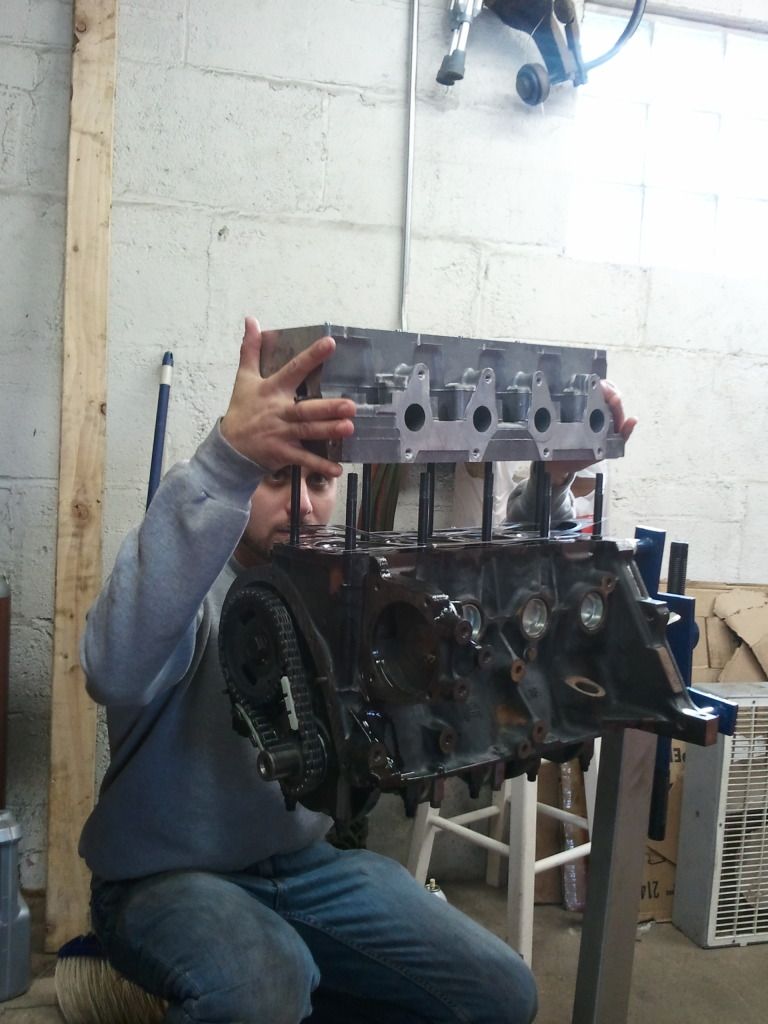
Motor is back from machine shop and we attempted to completely reassemble it but the head studs on the exhaust valve side touch the crane gold rr's so we'll be getting shorter studs for them, if we just used the stock rockers they would clear just fine.
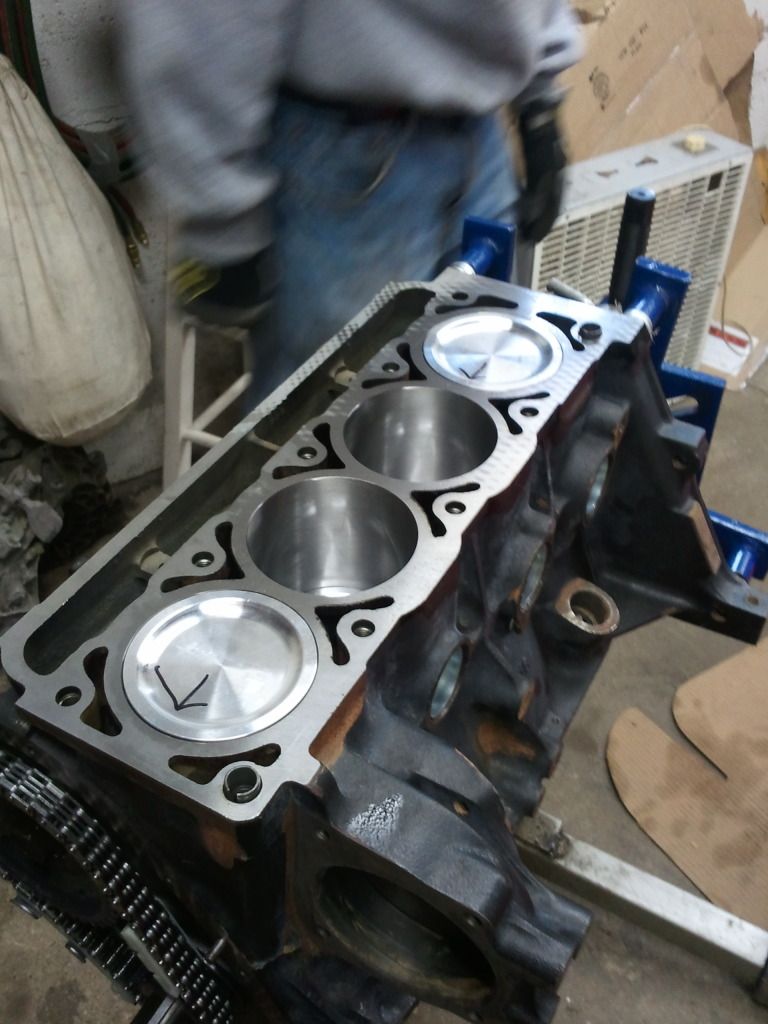
01 ln2 block .020 overbore
Weisco 8.9:1 Piston kit from IPP
IPP turbo cam
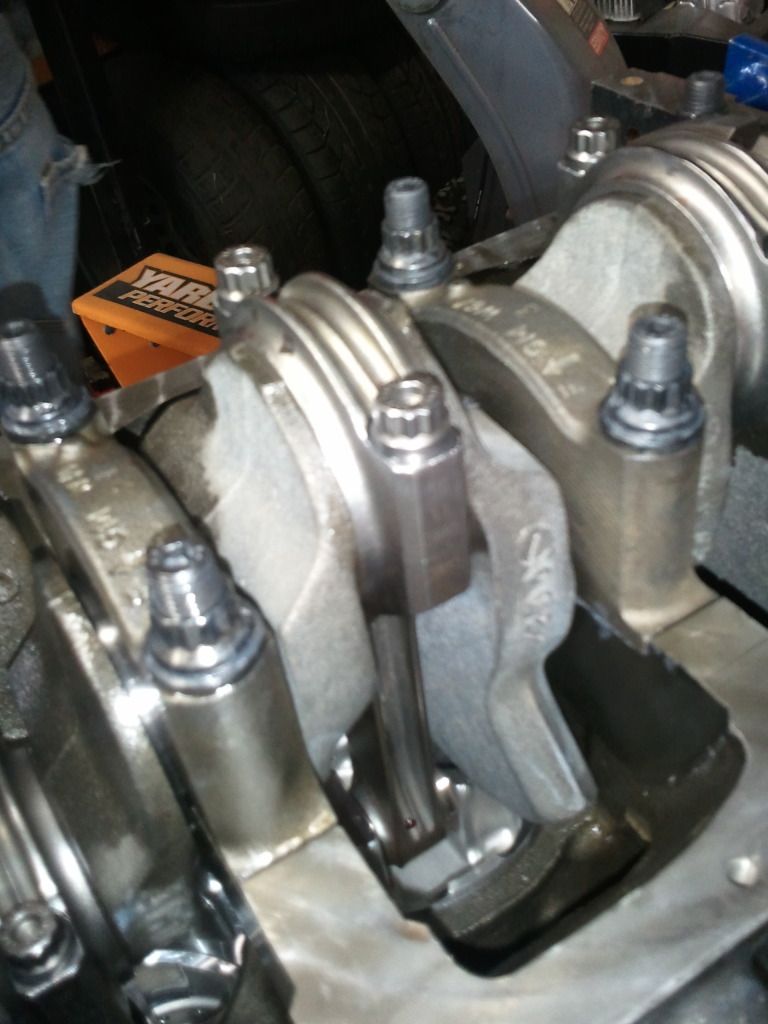
Eagle rods
Arp main stud's IPP
Arp head studs from IPP ( don't clear Crane narrow body gold roller rockers only stock rockers )
M98 oil pump
cometic MLS gasket
Carcustoms Stainless valves,
Crane valve springs were used and the spring seat was cut slightly.
Crane Goldrace 1.6 rr's
Vetguy
Me
thats all for now.
Edited 1 time(s). Last edited Monday, October 29, 2012 6:45 PM

Looks good. Seeing motor builds gives me inspiration to finish mine.
"Oil Leak ? What oil Leak ? Oh, Thats Just The Sweat From All The HorsePower!!"
Yeah me too.....I need more income for that I can spend for the cavi, bills and cost of living take priority. I get my jolly's indirectly by helping build friends stuff in my garage haha.
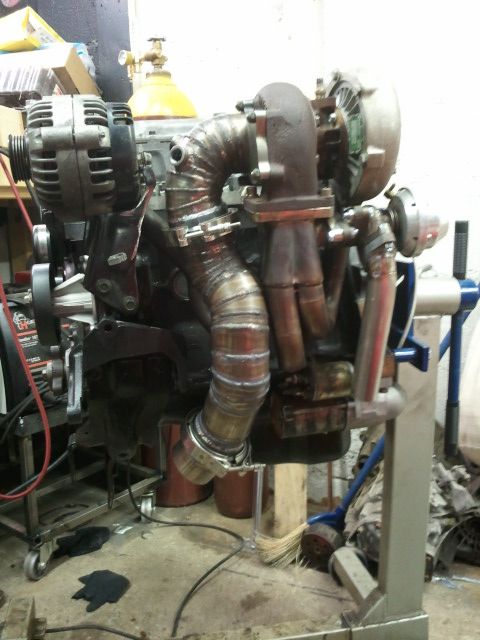
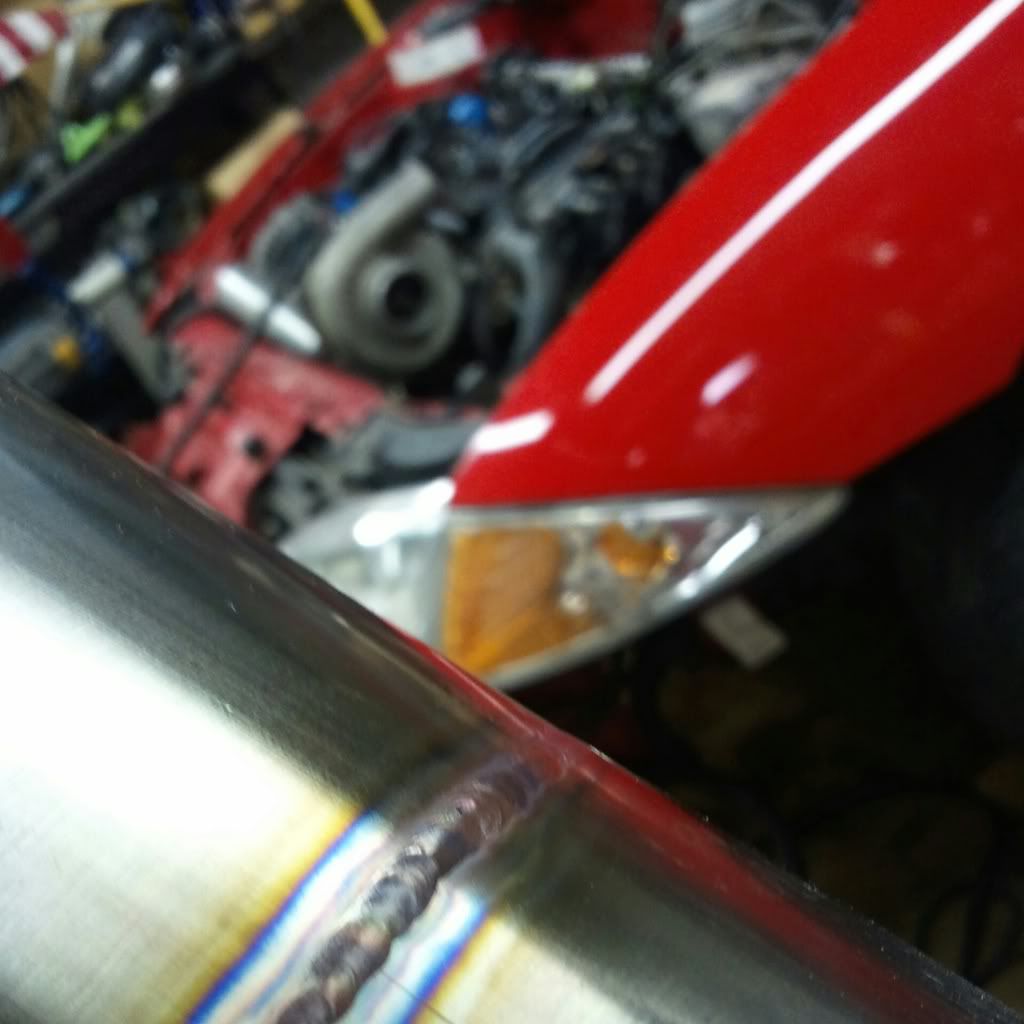
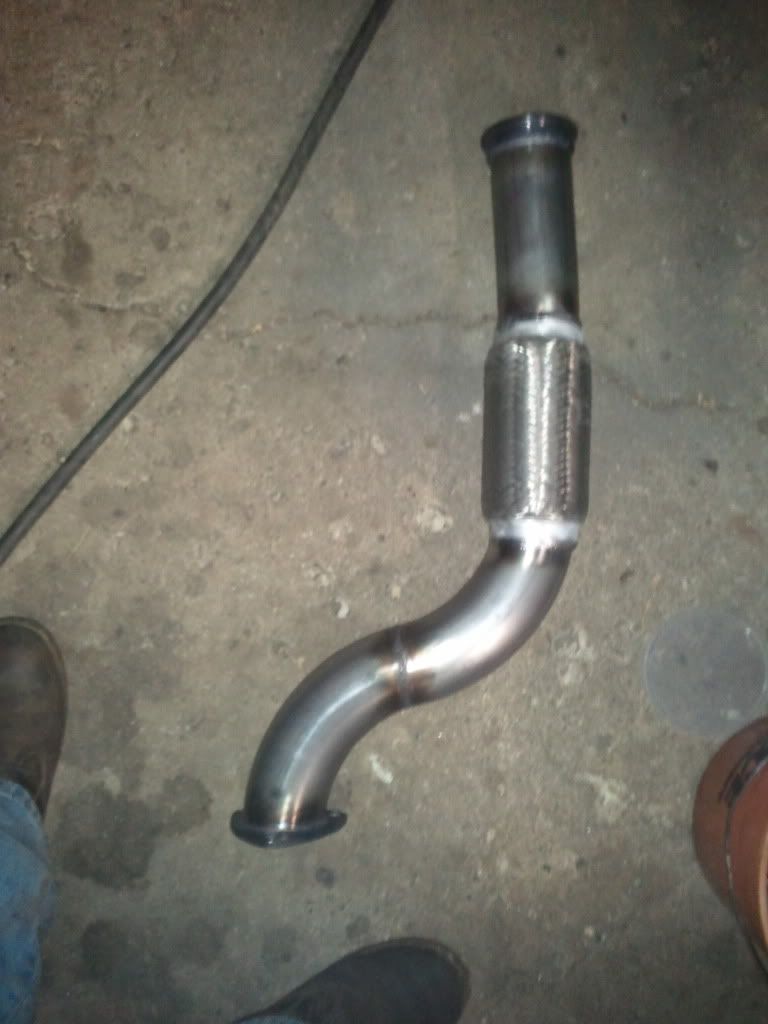
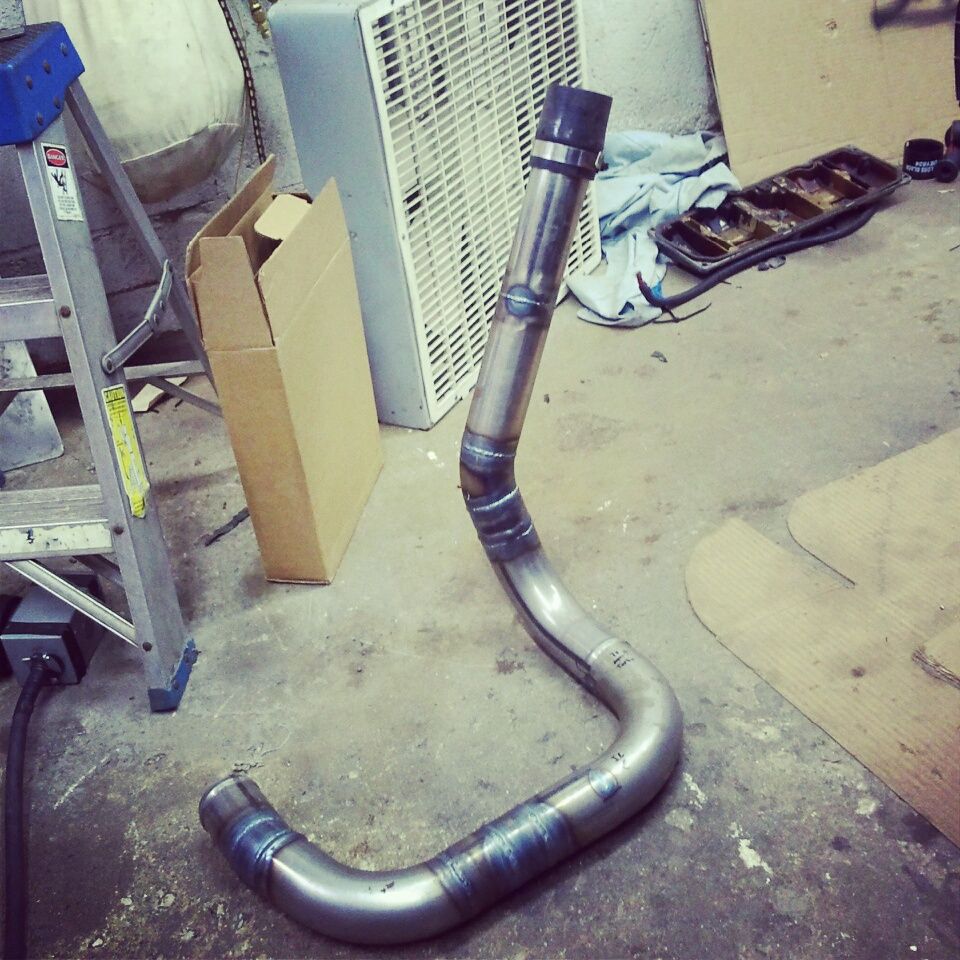
lookin good but whats the deal with the 67 pieces of 1/4 wide tube welded together. doesnt look to nice and probably not the best "flow efficient" route
He's right, they make that stuff already that flows better!-

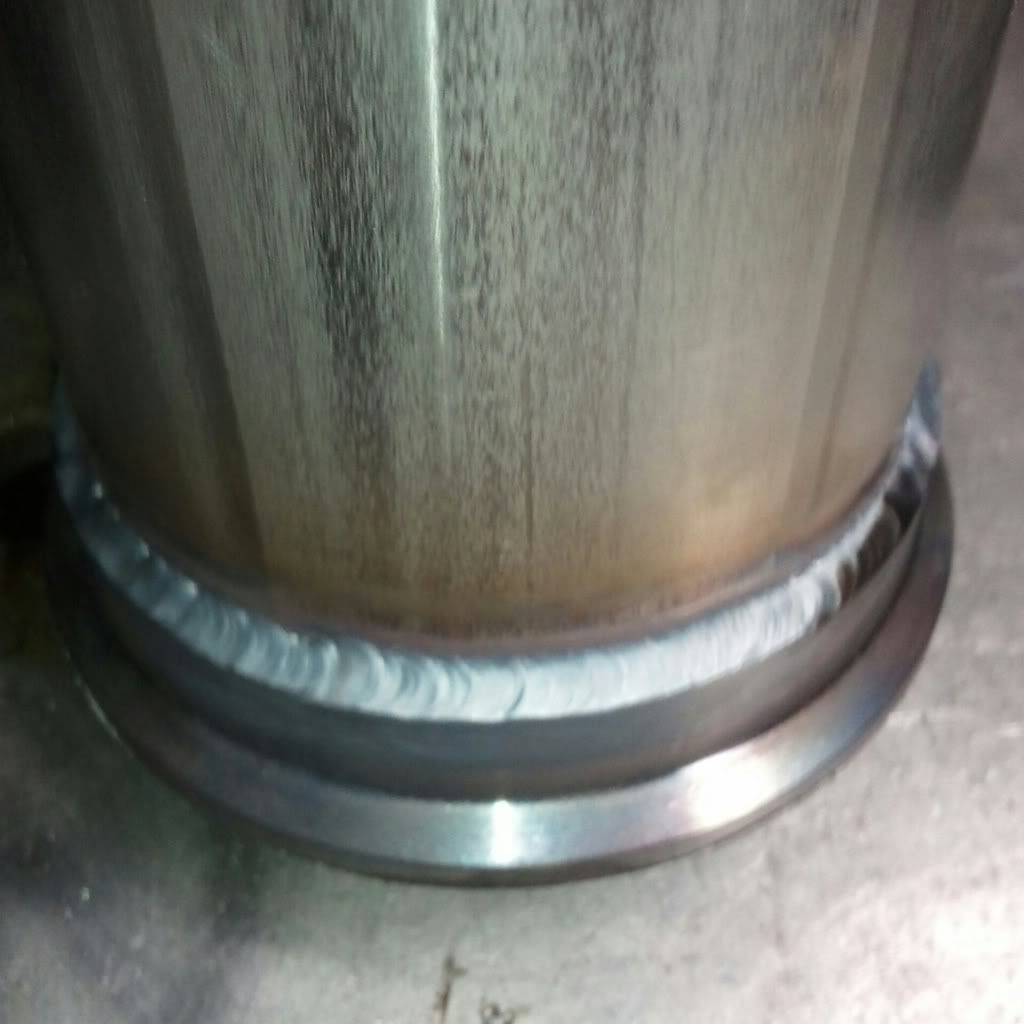
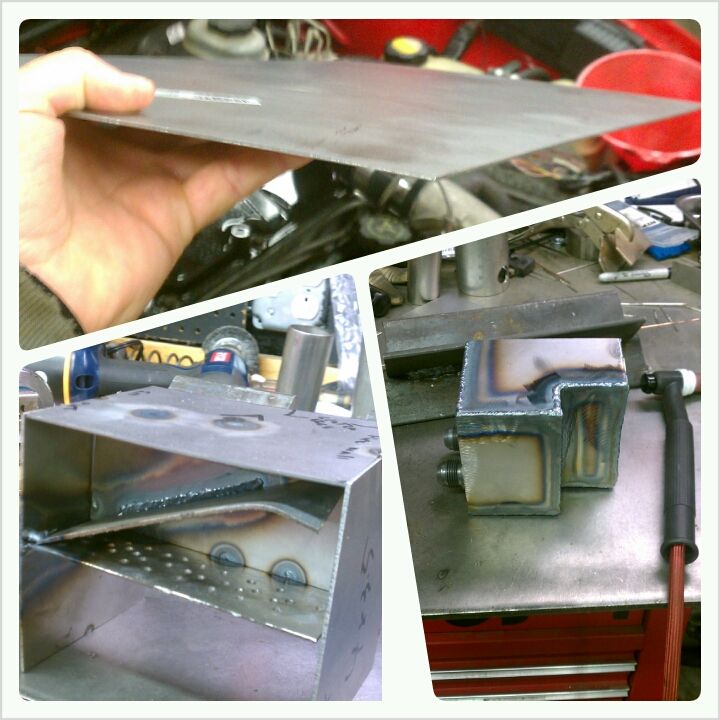
Looking good Jeff, some nice fab!
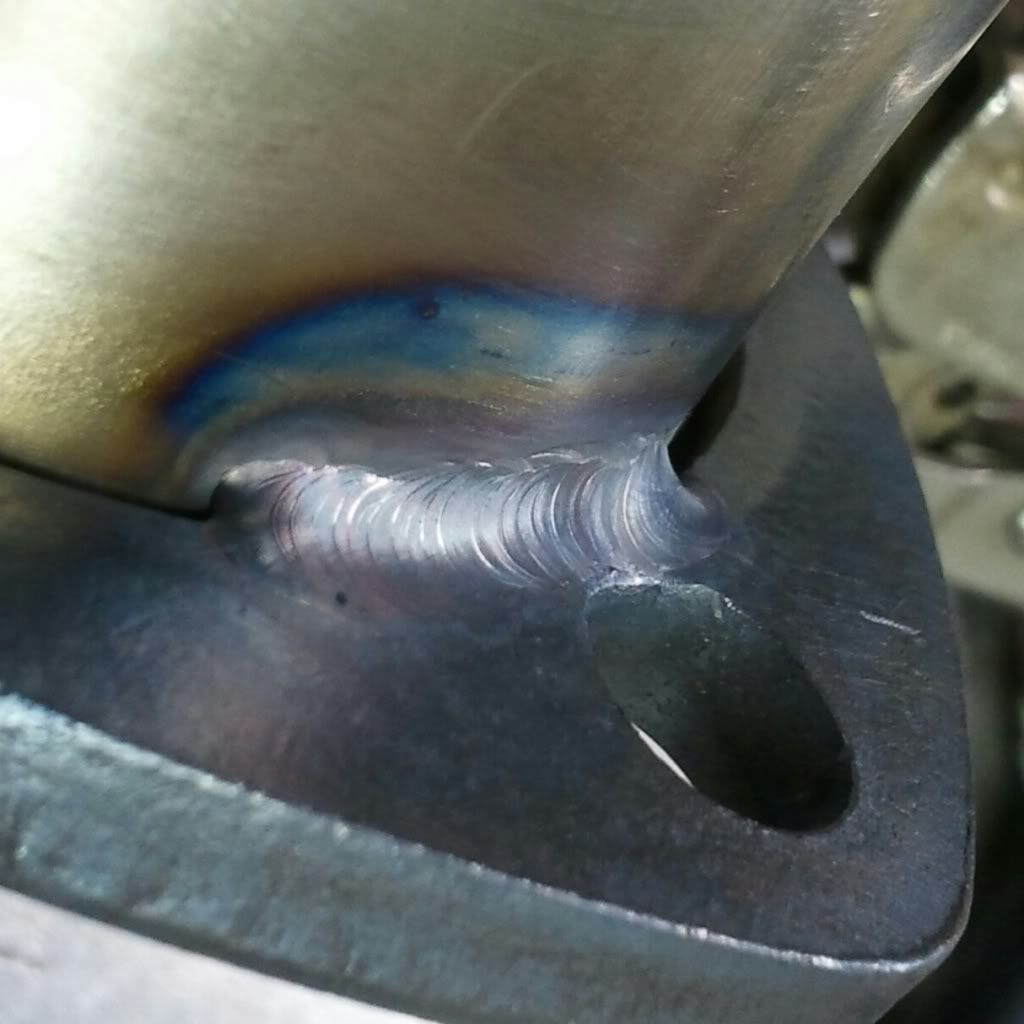
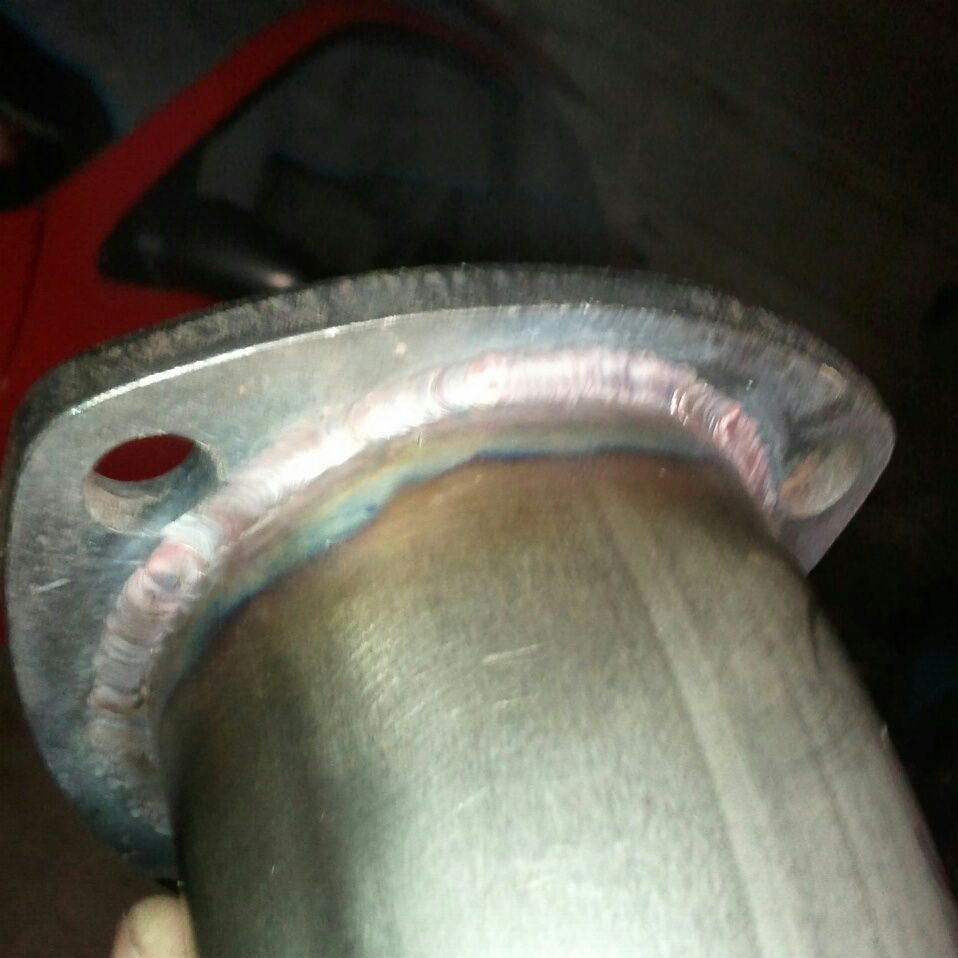
Looks cool and I appreciate the work.....Was it backpurged or is it have alot of slag on the inside of the pipes?
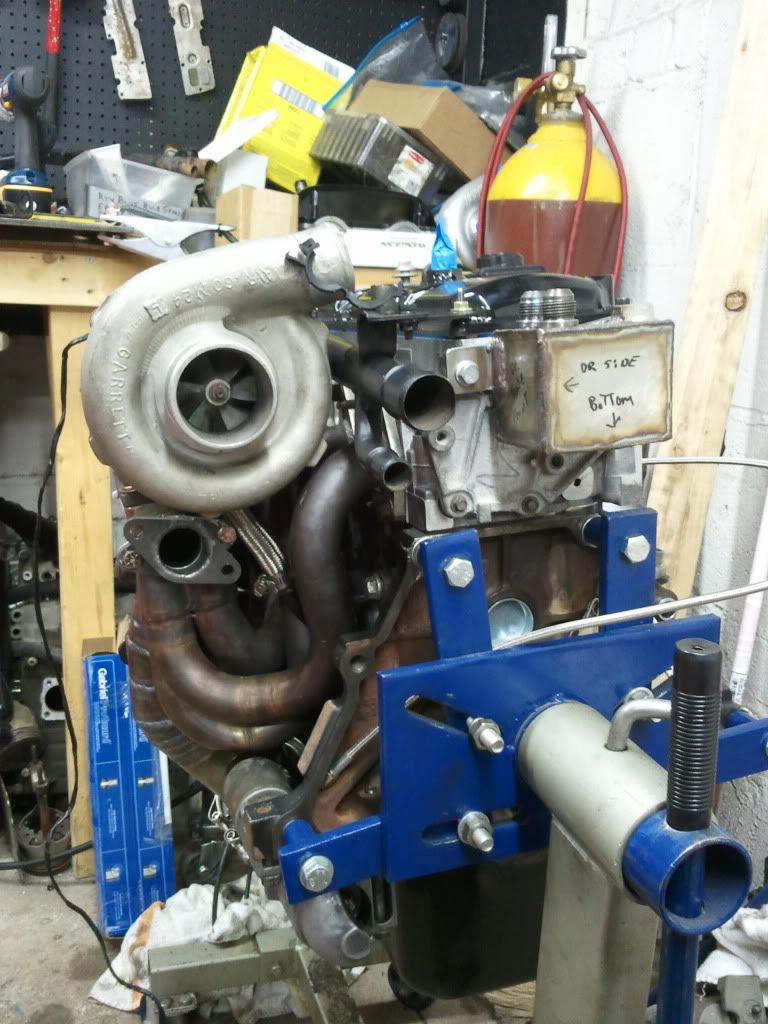
Also just curious why the wideband is so close to the exhaust housing? Pretty sure I read its supposed to be a decent distance from the turbo....
Either way keep it up....makes me anticipate when I get my tig welder and get to play with stuff like this.
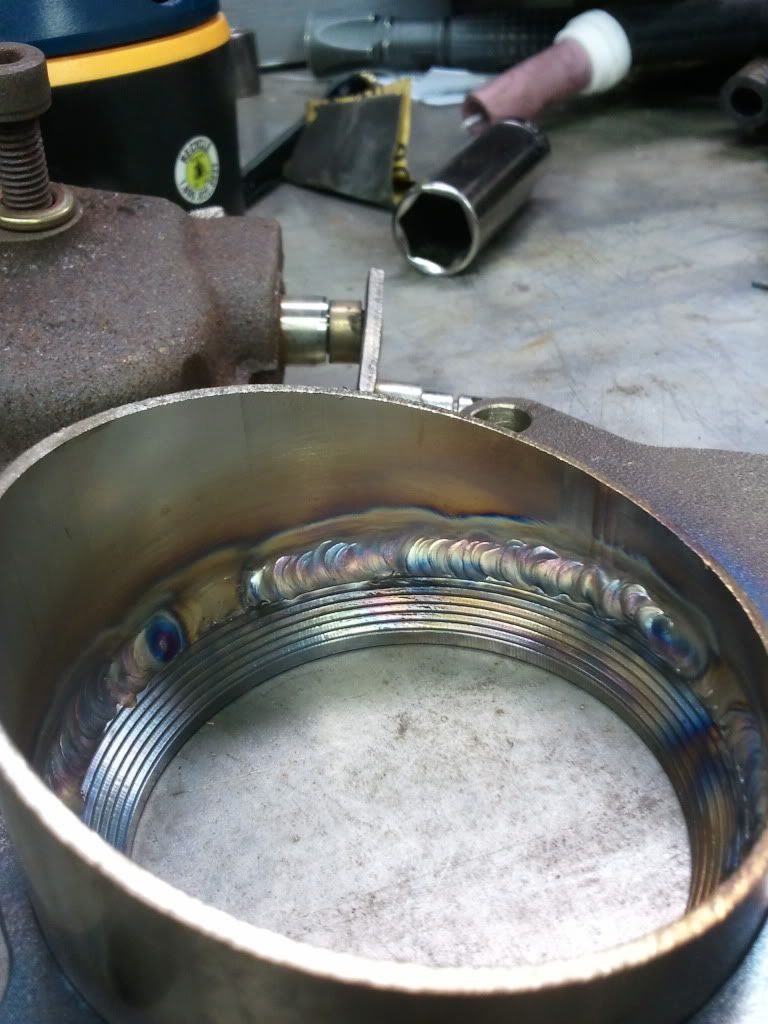
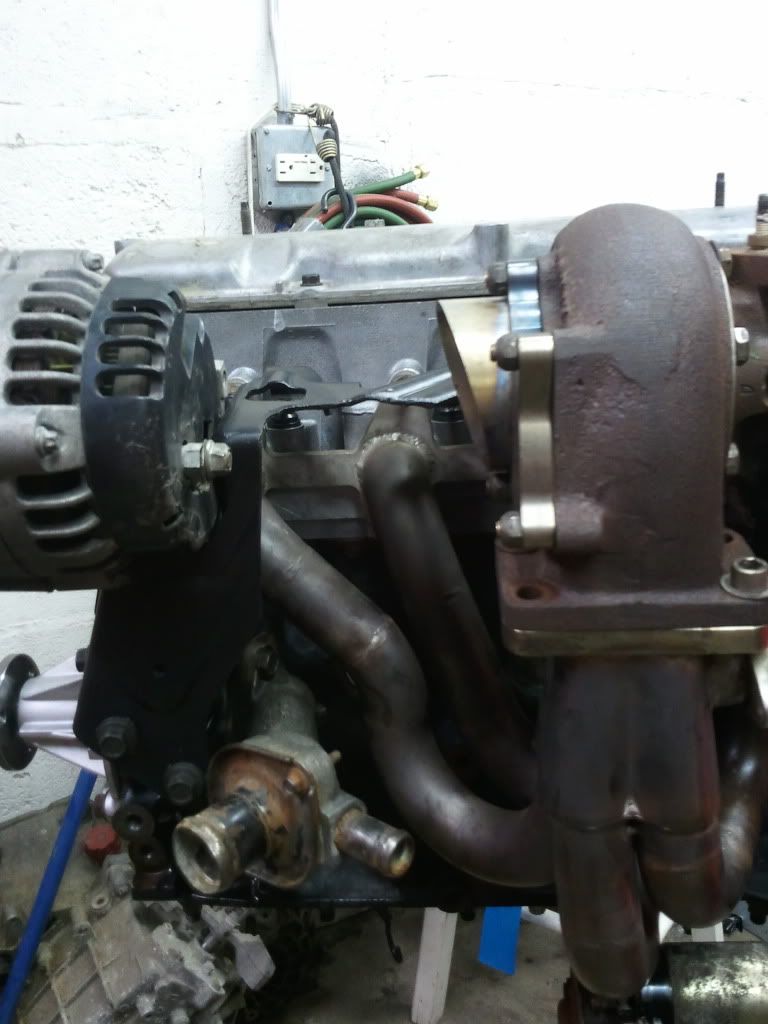
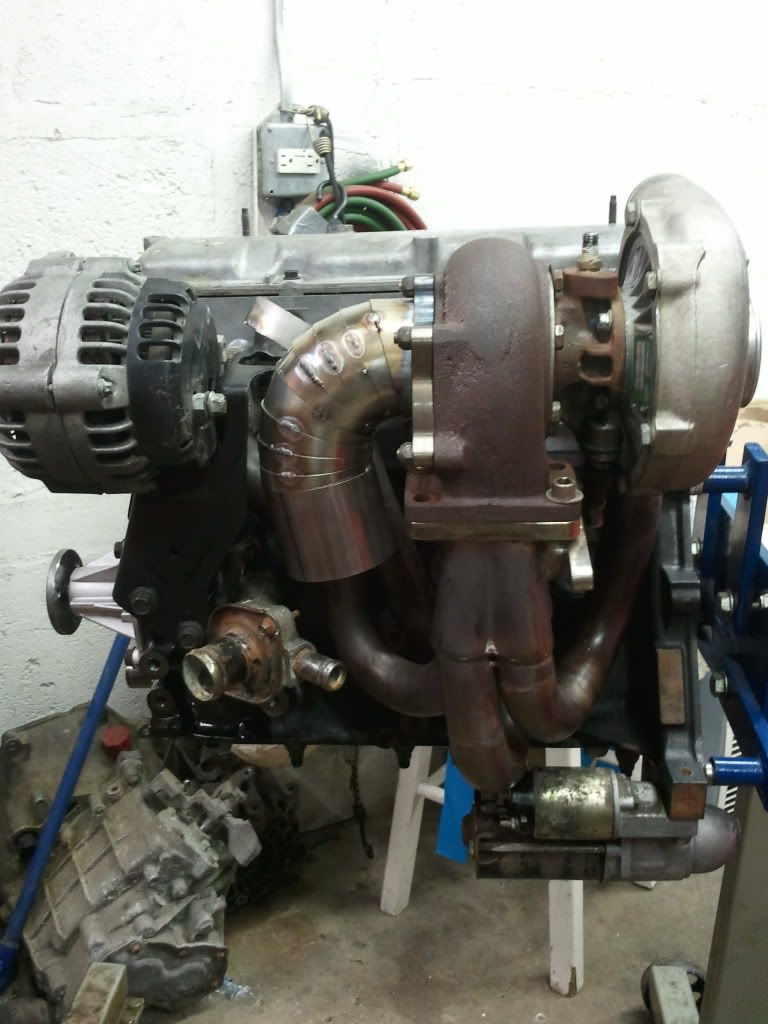
Corey- The only way for us to even snake a 3 in down pipe around the water neck was to use pie cuts of 16g tubing. there is about an 1/8th inch between the water pump outlet and about 1/4 maybe on the primary on the header. There are no mandrel bends that would really corkscrew their way through there, and nobody makes downpipes for this setup so we had to make due with what we had at hand.
Joe- They were all out of chrome plated aluminum ducting at the home de-pot.
Philly- Your correct that it is not back purged. Majority of the bends do have some slag/inclusions from not being purged but since the pipe comes apart in 3 peices we can clean most of it up with some porting bits and air tools. I'm sure the dull gray beads gave it away since you seem to know what to look for. My buddy is on a budget after dropping the money on a forged motor that wasn't planned and wanted the car back on the road for a dd as his gtp is going up for sale soon. This way we can work any bugs out prior to getting QWK CAV up to chicagoland to dial this thing in at high boost. Right now we didn't have the extra $200 for a tank deposit on another argon tank or cash for another regulator setup. I'm sure down the line I'll want to change the down pipe setup but this has to due for now.
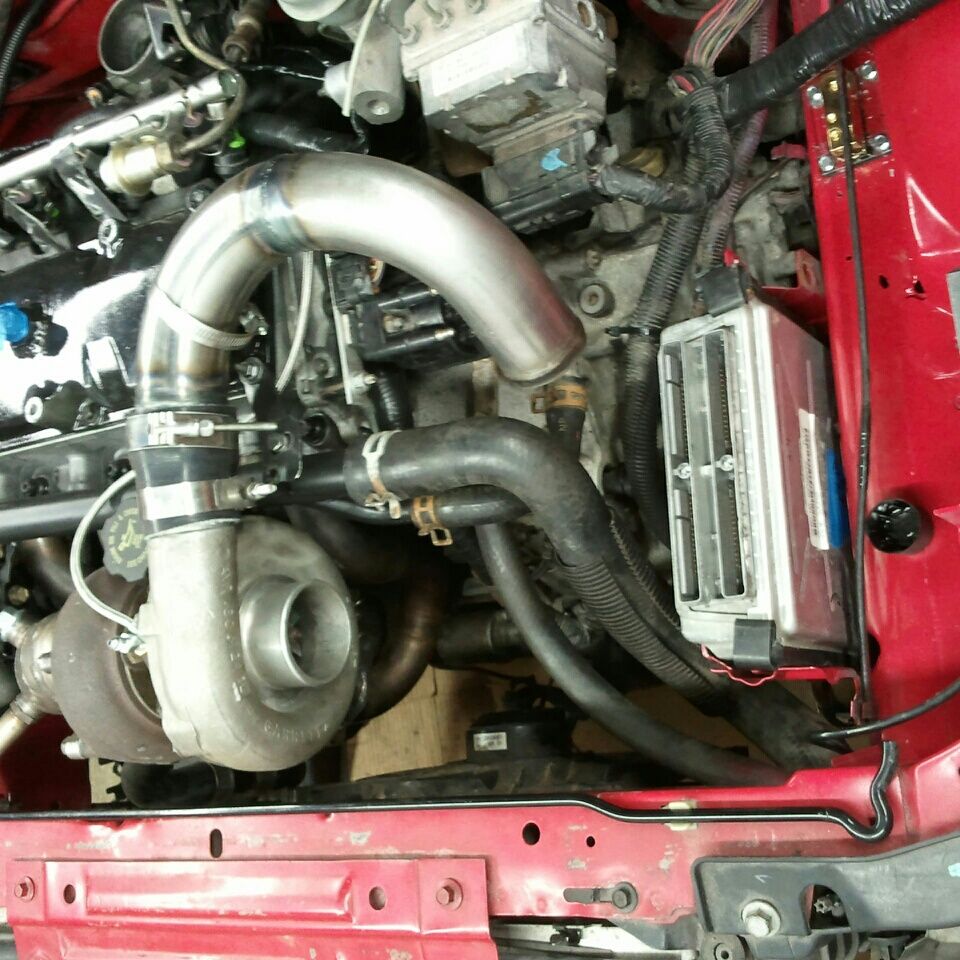
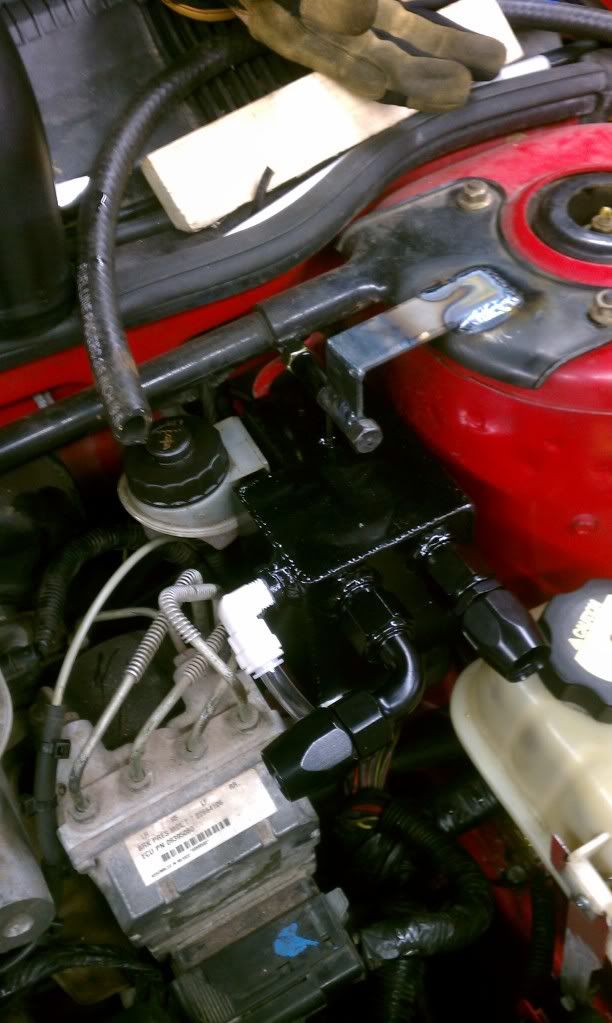
There are two o2 bungs up top, one is 5 inches away and the other is 6. With how tight the pipe is to the motor there really isn't a good place to put a bung until after the pipe is behind the oil pan roughly 39 inches away where there will be another bung welded in. I just want to get the motor installed and the trans/axles so I can put it somewhere that won't interfere with anything else. The 2nd o2 up top will end up being a mount for an egt most likely or plugged in the mean time.
Not sure if you have already mentioned or not, but what kind of seats are those leather ones? They look bad ass
In reguards to the wideband, I fried mine twice being 4 inches off the turbo.
I moved it right behind the subframe, where the 2.4 exhaust come between the body and the frame.
Its great for access, no problem installing it.
Sometime it will overheat where it is now, but not as often, only during excessively spirited driving!!!!!
Paul- they were from a gp a long time ago. Iirc the style was a "ronin" seat if you'd like to google it.
Bobby-thanks on the input.
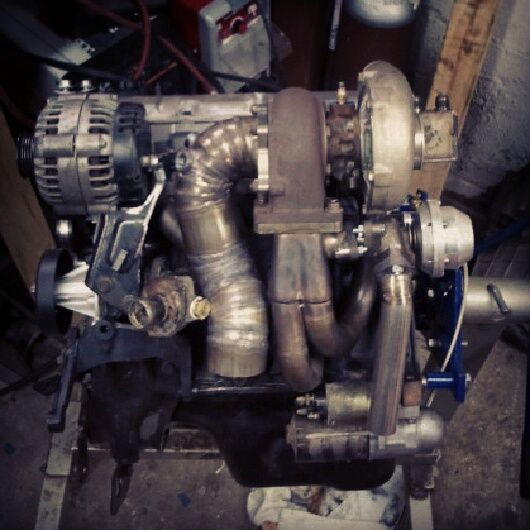
Nice healthy update. Looks like it fits really well. Downpipe looks like clearance works well. Get that thing up and running already would ya!

Welds keep getting better and better. Soon I will be asking which welding robot you went with.
Thanks Vince, I haven't tig'd this much since Pipe fab in school. So I'm getting back in the groove.
So glad to have jbo back.
Good stuff.
2004 Cavalier Sedan
Thank you guys, car runs. The tial w/g is being stuck open so we need to pull it off and take it apart to see whats wrong, also developed a tiny leak from behind the coil packs on the end of the head where the cover plate goes. So we'll get these issues taken car of during the week.
Nice work man, I'd like to see some #s as I too am rebuilding my 2200. Yea not much love for us 2200 guys, mine has been in the garage since Dec. 2009 and after having my 2 sons I get to work on it again I can't wait. Also this April I have owned the cavy for 10 years and would like to get it on the road.. Keep us updated, mucho respect for boosting a forgotten engine.
A J-body owner since 1998
91 cavy, 99 sunfire, 00 cavy
06 cobalt SS/SC YELLOW
09 cobalt SS/TC sedan WHITE 1 of 41
Thanks, I can't wait to see what numbers we get as well. anything over 300whp on 93oct will make me happy but it's my buddy's car now. I just post up for him because he doesn't get along with computers. I was planning this build prior to him trading me a truck for the car....then he purchased all the go fast goodies and he's been hooked. this car only has 81k on it but it's spent alot of time sitting like yours has. One day I plan on doing an sten turbo build with an ln2 or maybe an old government mail truck as some of them have ln2's as well as rwd......Total sleeper right there haha.
Awesome progress man. I've always wanted to do an ln2 build like this. Lots of hate out there but I loved that motor when I had it. Now I'm just one of those eco guys...

"In Oldskool we trust"